Using OpenWebUI with PayPerQ
What is OpenWebUI?
Open WebUI is an extensible, feature-rich, and user-friendly self-hosted AI interface.
Step by Step Set Up
1. Go to OpenWebUI and install
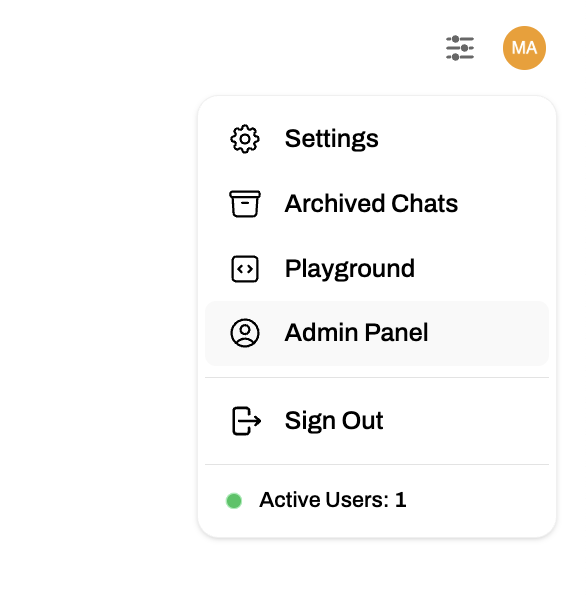
2. Go to the admin panel
3. Click on settings in admin panel, then click on connections
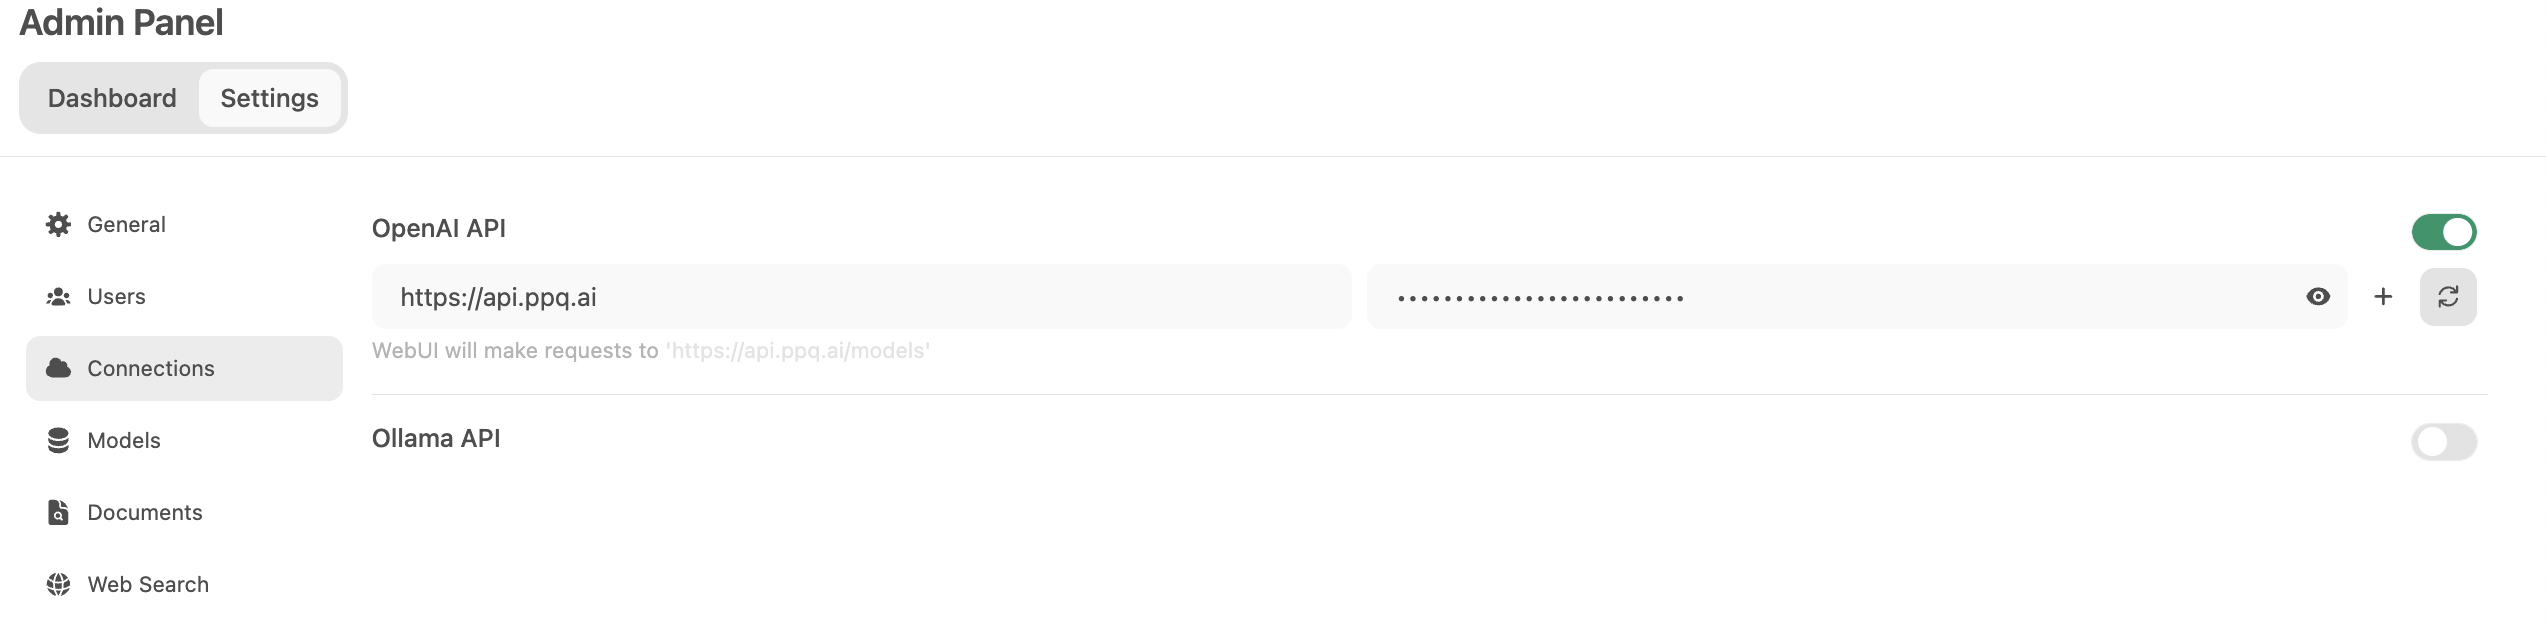
Set OPENAI_API_BASE to: https://api.ppq.ai
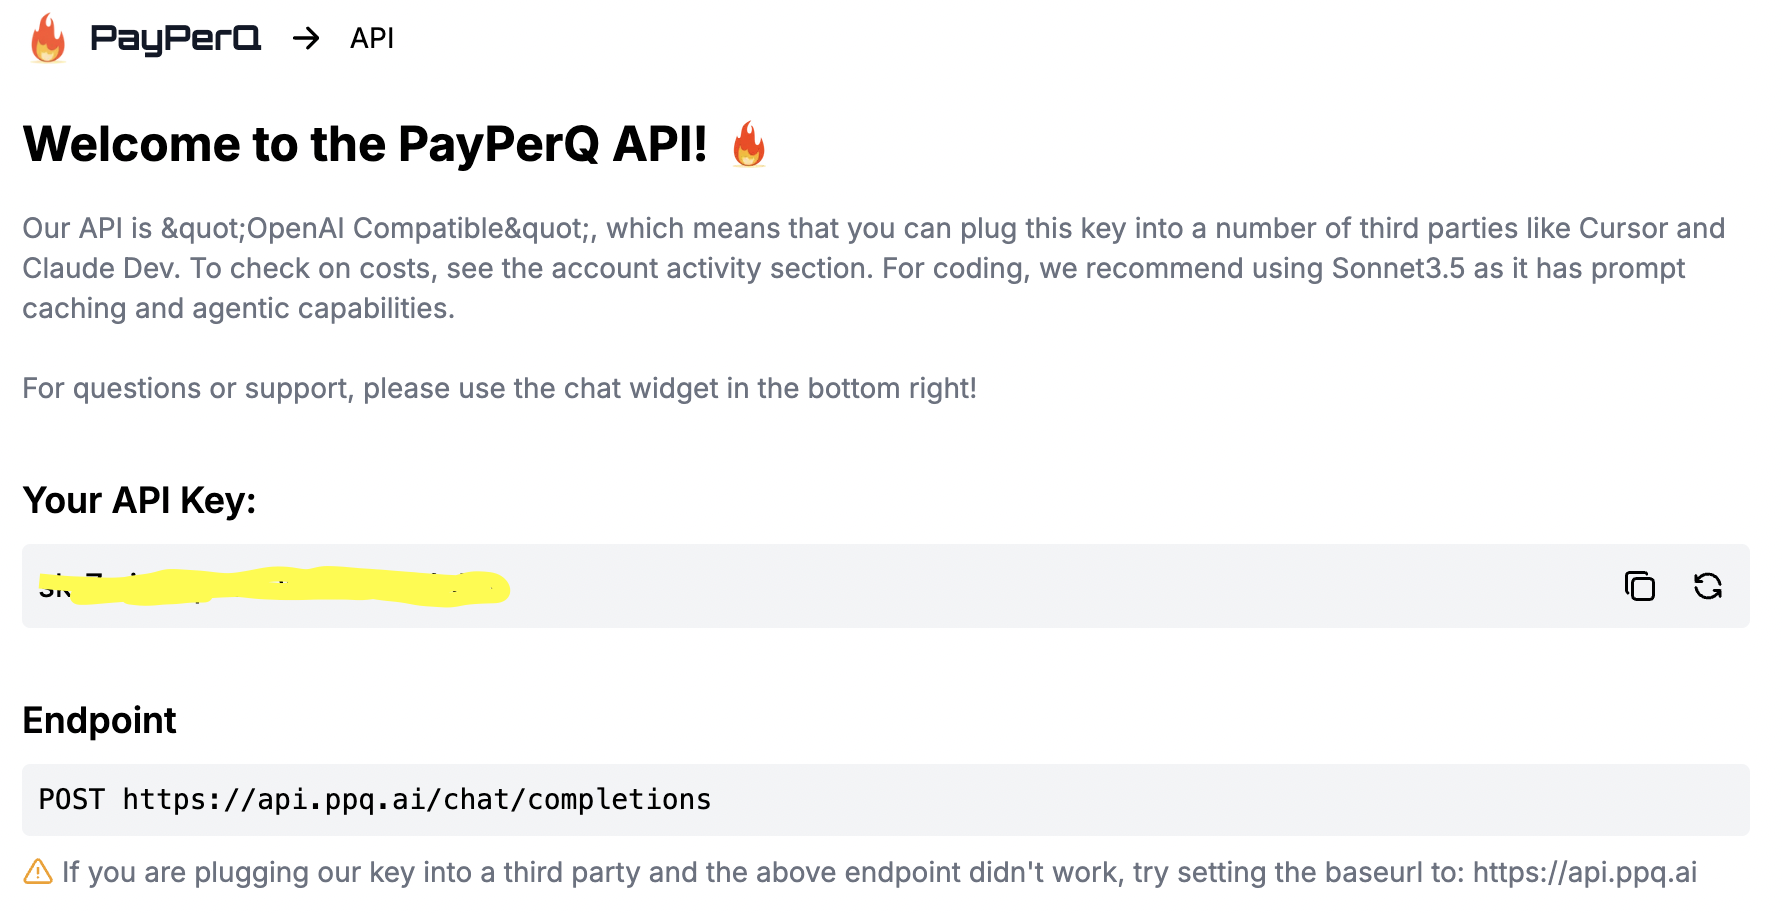
Set OPENAI_API_KEY to your key located at ppq.ai/api-docs:
4. Set model to one available at PayPerQ
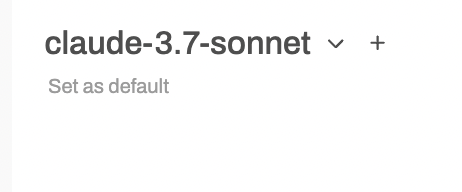
Image Generation & Editing
OpenWebUI supports image generation and editing through the OpenAI Images API spec. Because PayPerQ exposes both /v1/images/generations and /v1/images/edits, you can use these features directly in OpenWebUI.
Enabling Image Generation
- In the OpenWebUI admin panel, go to Settings → Images
- Set the Image Generation Engine to OpenAI DALL·E
- Set the API Base URL to
https://api.ppq.ai/v1 - Enter your PayPerQ API key
- Set the model to any image model available on PayPerQ (e.g.,
gpt-image-1,dall-e-3)
Once configured, you can generate images directly from the chat interface by clicking the image generation button or asking the model to create an image.
Image Editing
With the /v1/images/edits endpoint, OpenWebUI can also send image editing requests through PayPerQ. Upload an image and provide an editing prompt, and the model will return a modified version. Pricing for image editing is the same as image generation — see the API docs for current model pricing.
Problems?
Please contact us through the customer communication chatbot in the bottom right or in our telegram channel!