Using Msty Studio with PayPerQ
Msty Studio is a privacy-first AI interface that supports both local and online models, offering advanced features like Knowledge Stacks and Personas while keeping your data secure.
What is Msty Studio?
Msty Studio is a powerful, privacy-focused AI interface that brings advanced AI capabilities to your fingertips while keeping your data private and local. Unlike many other AI tools, Msty operates with zero telemetry and zero tracking, ensuring your conversations and data never leave your control.
Key features include:
- Privacy-First Design: No telemetry, no tracking, local-first storage
- Dual Model Support: Use both local models (via Ollama) and online models seamlessly
- Knowledge Stacks: Advanced RAG system for intelligent document management
- Personas: Create custom AI assistants with specific behaviors and tool access
- Cross-Platform: Available as both desktop application and web interface
- Advanced Workflows: Turnstiles for complex logic flows and MCP integrations
Step by Step Set Up
1. Download and Install Msty Studio
Go to msty.ai and click "Download Msty Studio". Select the version for your operating system:
- Windows: Download the .exe installer and run it
- macOS: Download the .dmg file and drag to Applications
- Linux: Download the .deb package and install with
dpkg -i MstyStudio_amd64.deb(Ubuntu/Debian) or use the AppImage
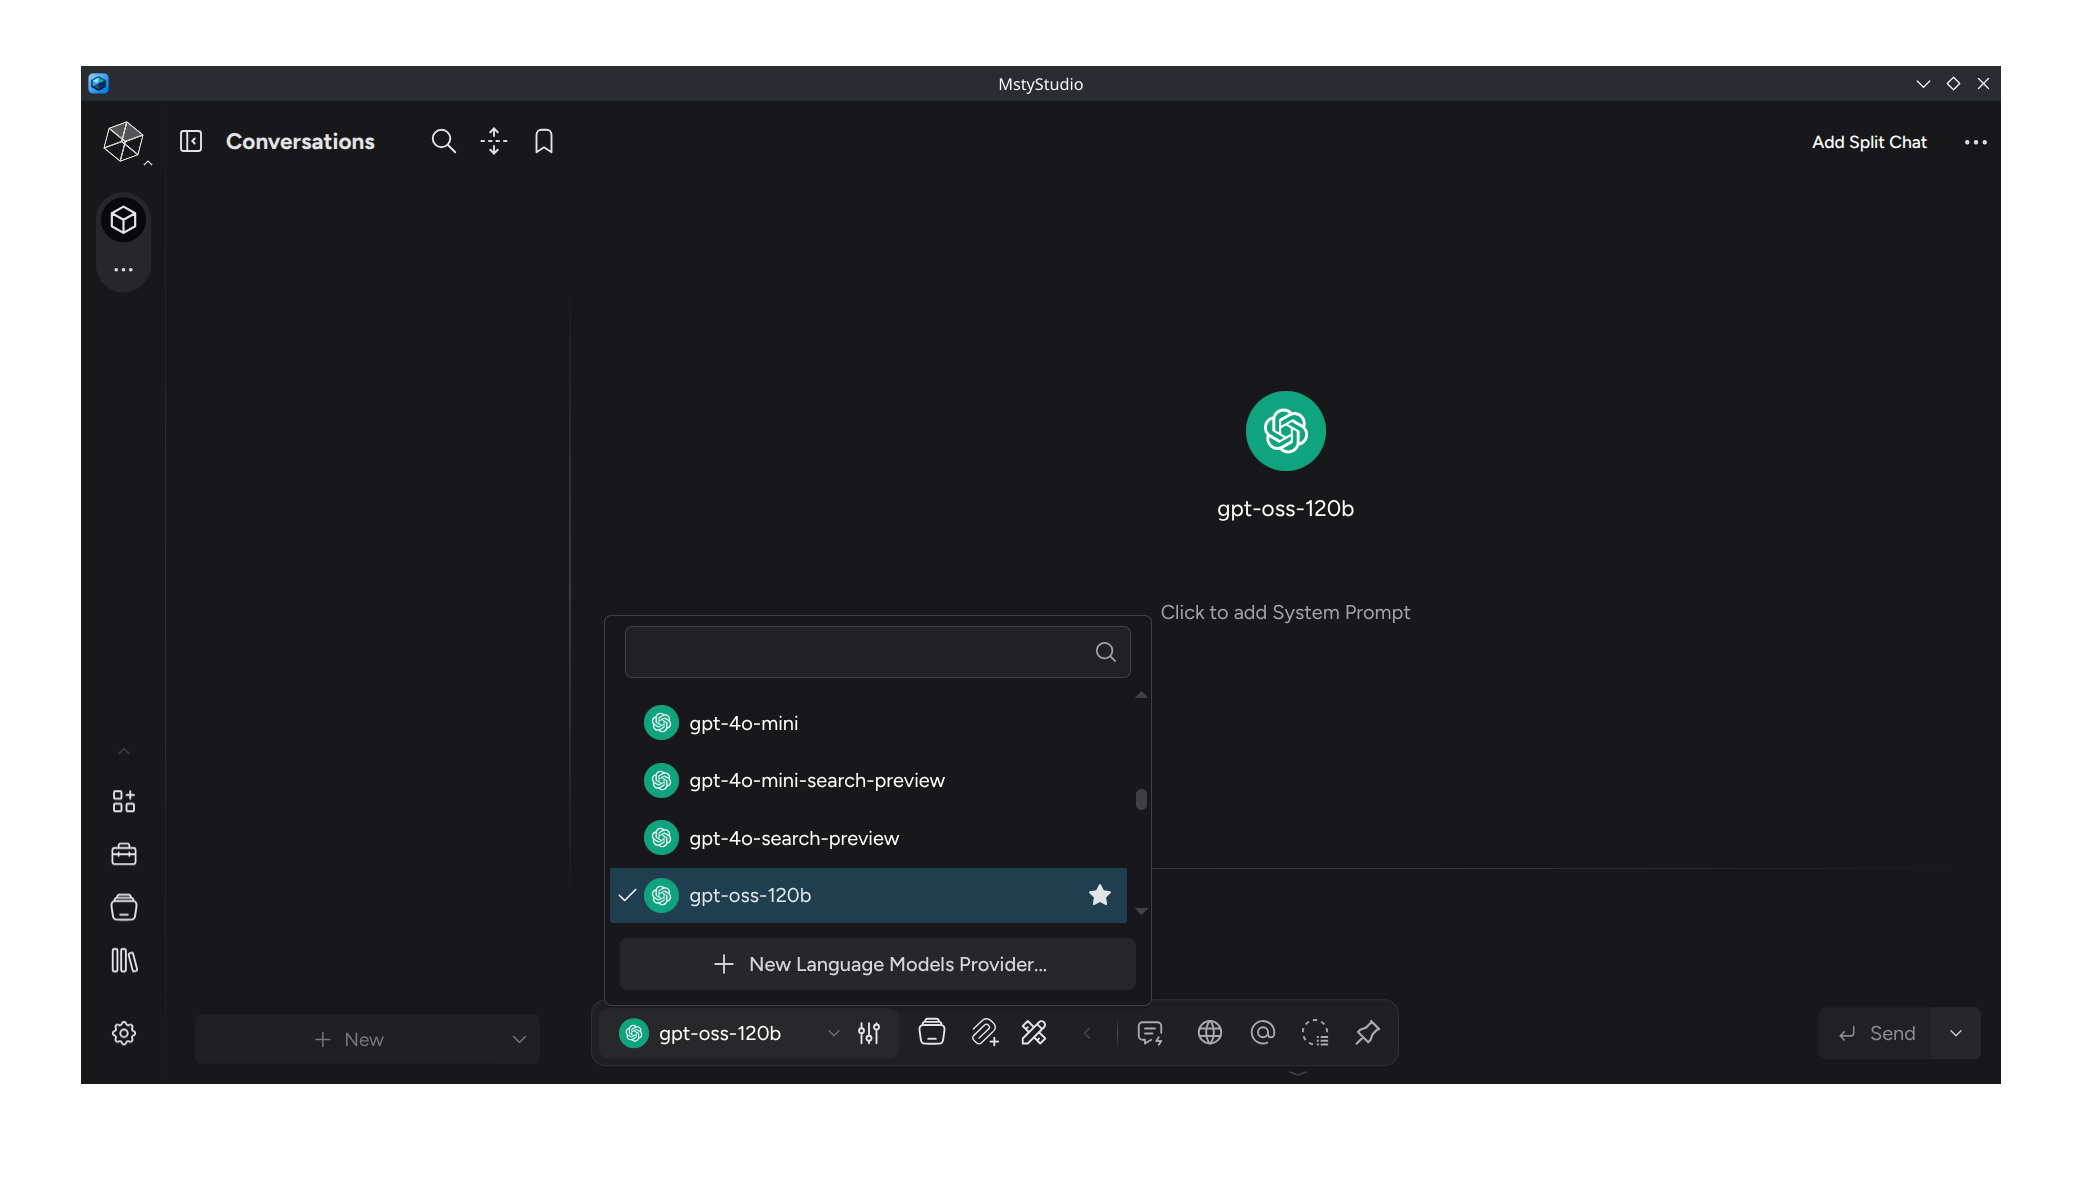
2. Configure PayPerQ API Provider
Open Msty Studio and look for the Model Selector at the bottom of the screen. Click on it, then select "New Language Models Provider...".
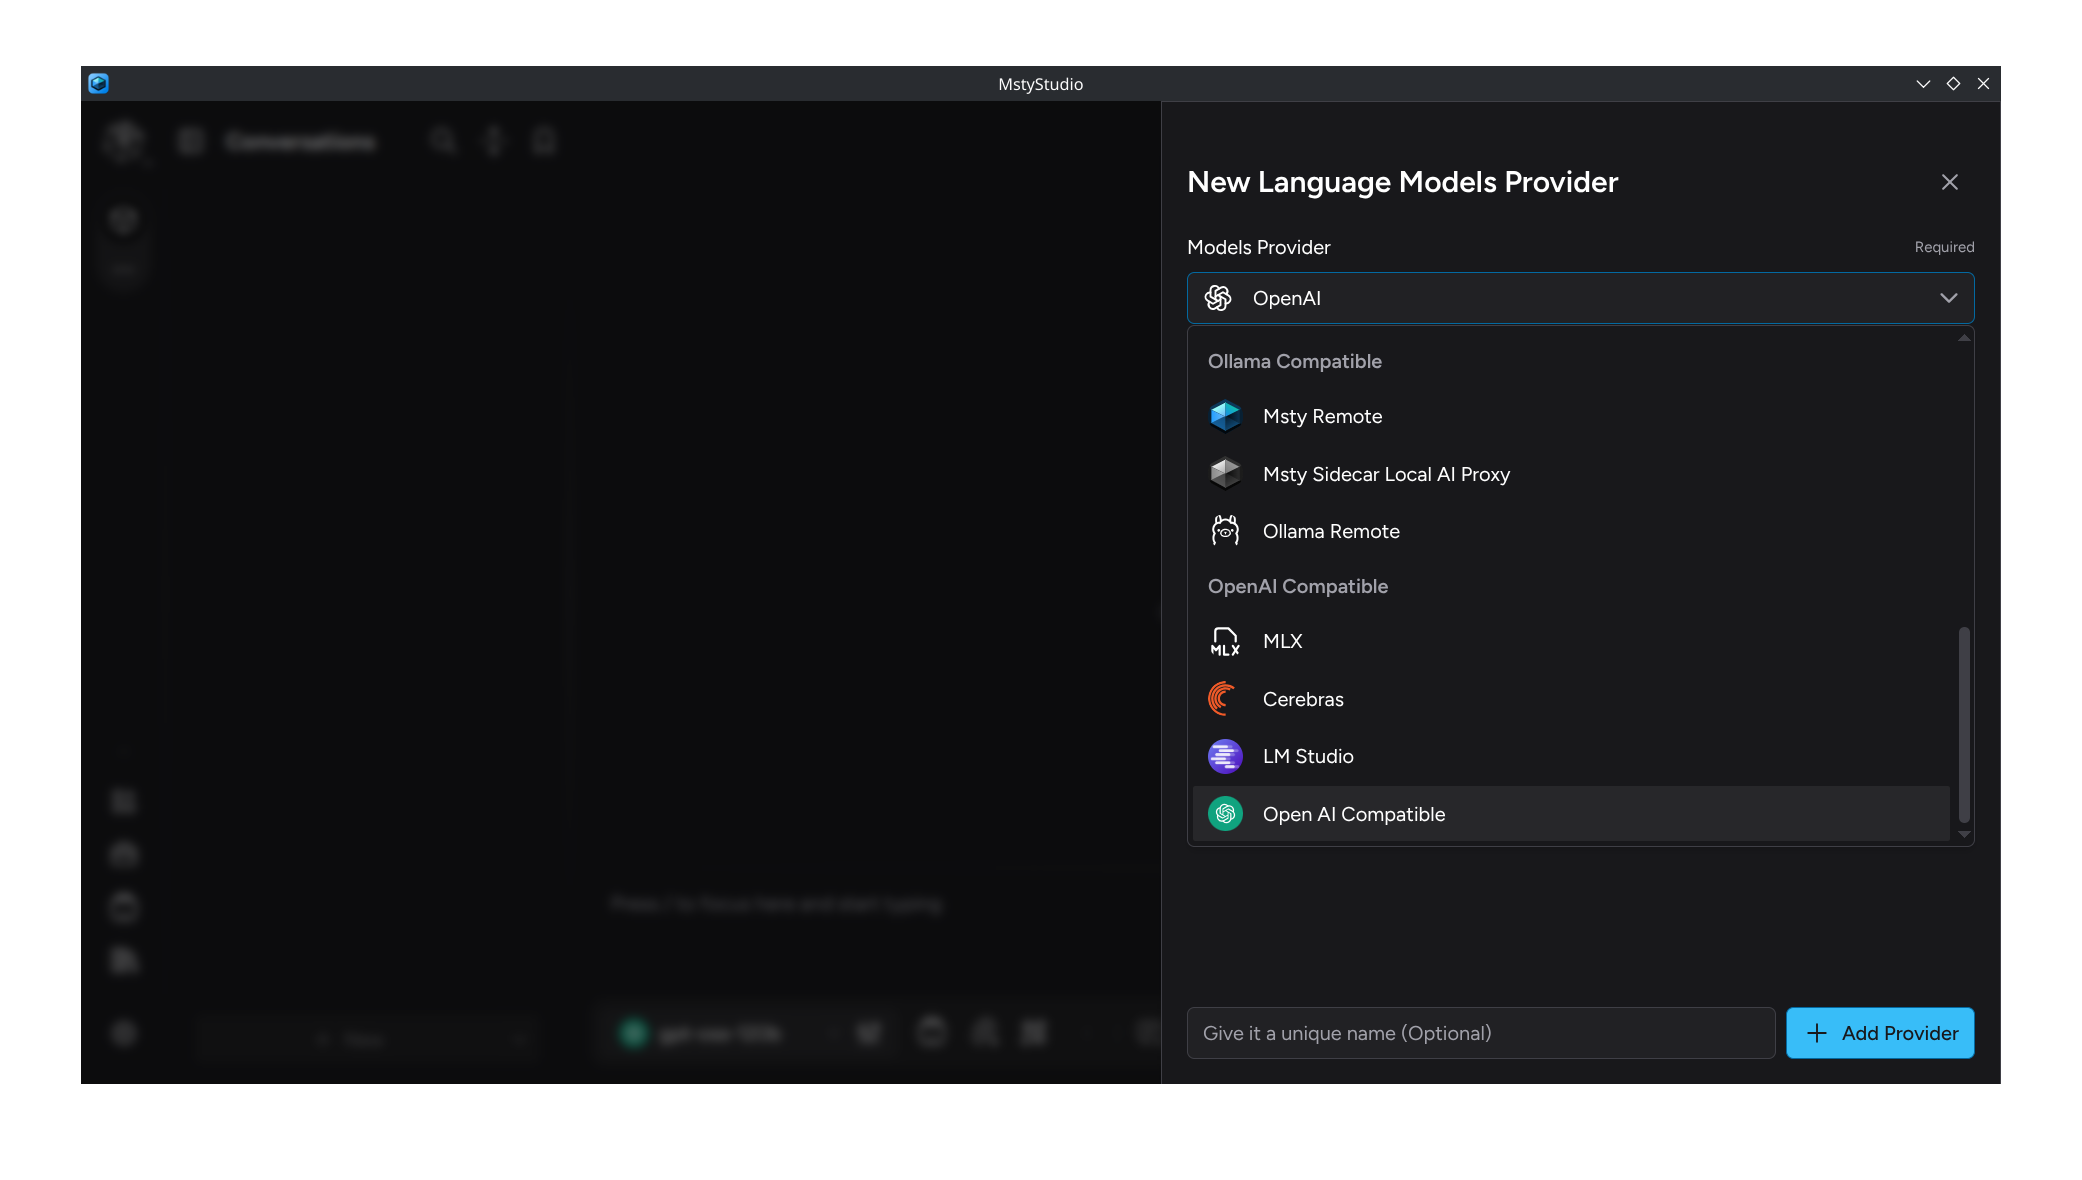
3. Select OpenAI Compatible Provider
Choose "OpenAI Compatible" from the provider options to enable integration with PayPerQ's API endpoint.
4. Configure API Settings
Fill in the configuration form with your PayPerQ credentials:
- API Key: Enter your PayPerQ API key (found at ppq.ai/api-docs)
- Inference Endpoint: Set to
https://api.ppq.ai
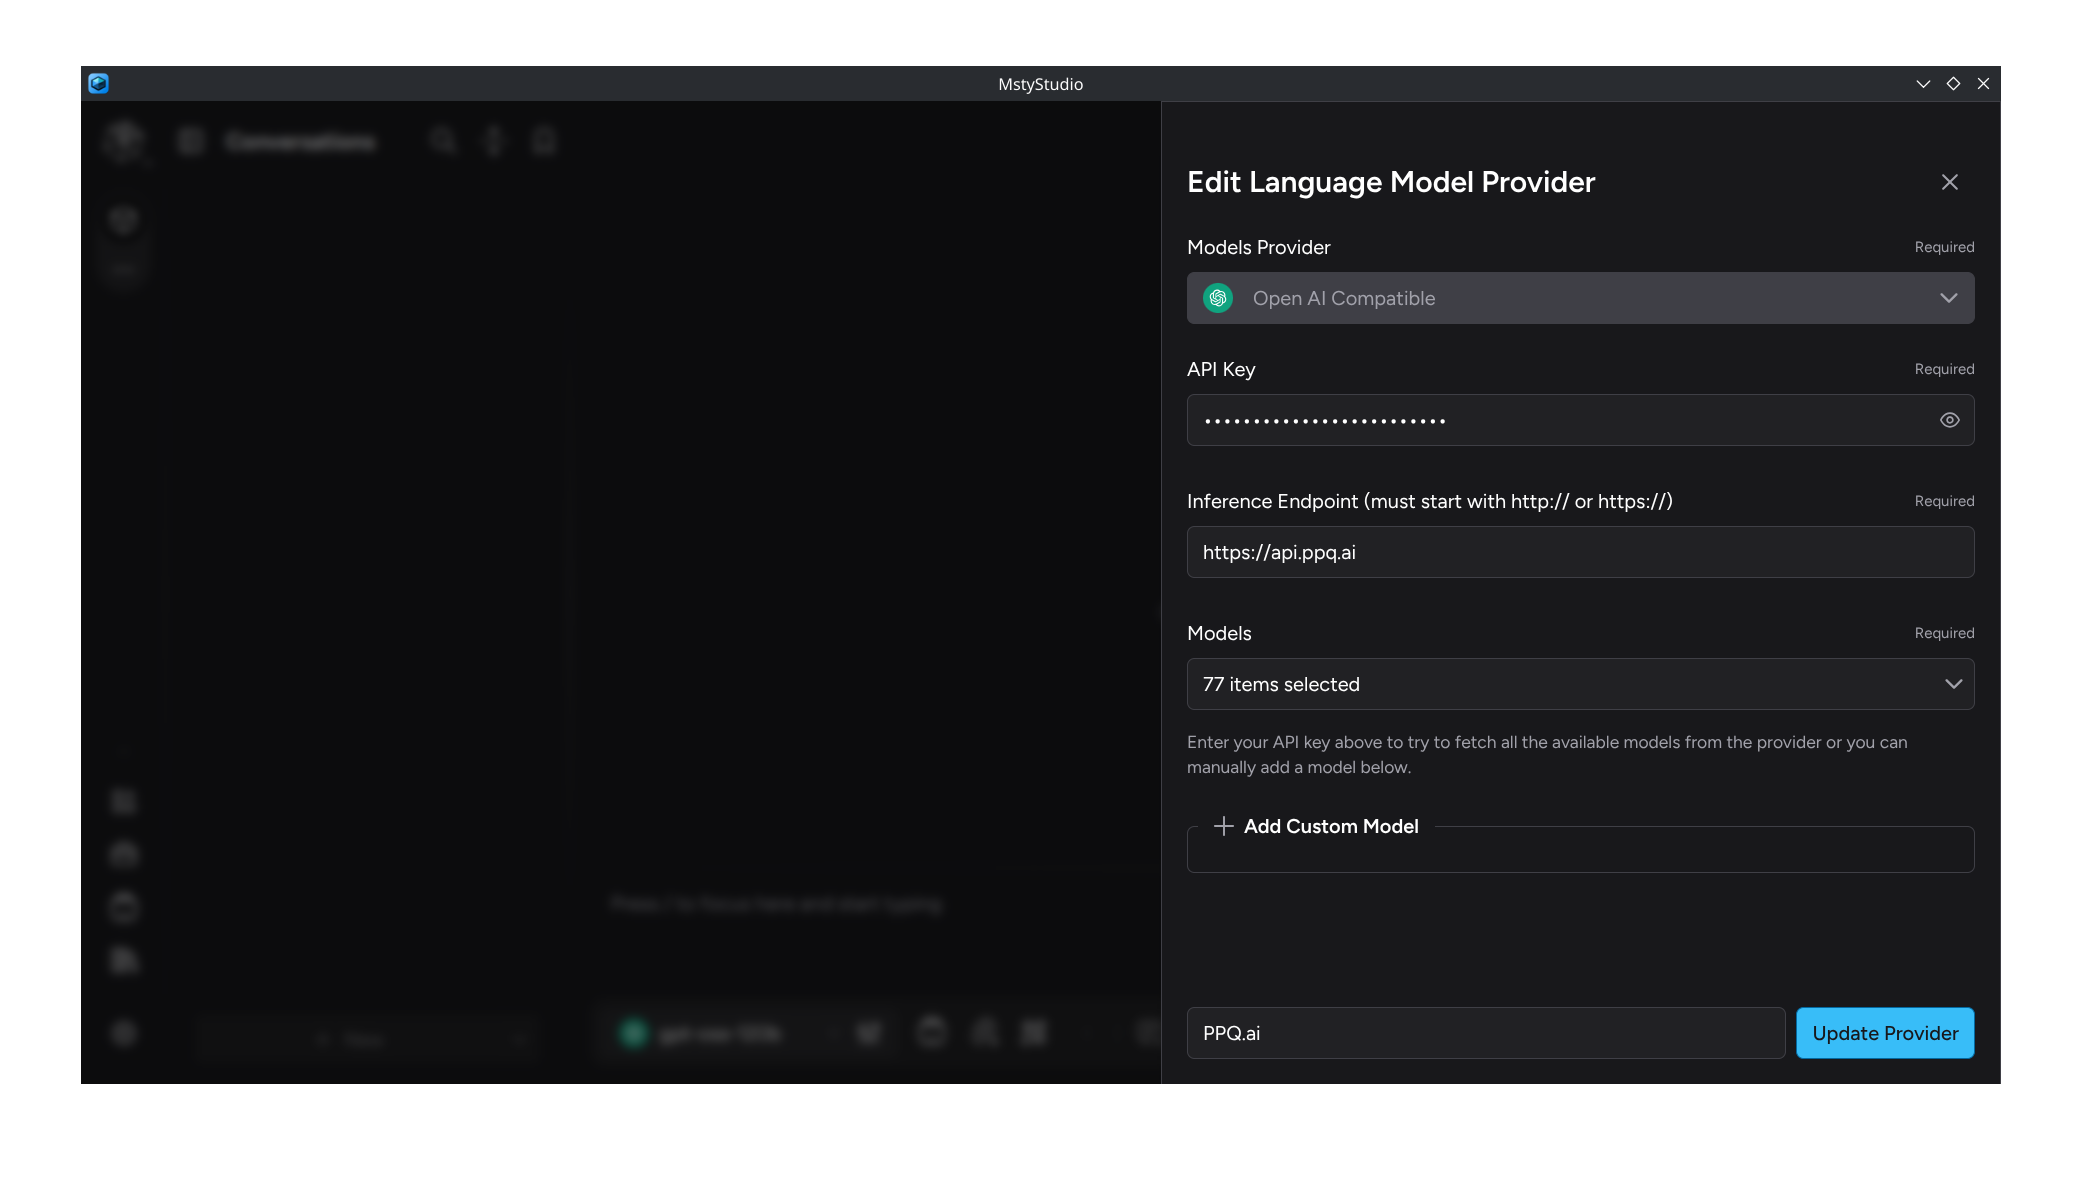
5. Select Available Models
In the "Models" field, enable the models you want to use in Msty Studio by clicking each checkbox. You can click the top checkbox to select all available models at once.
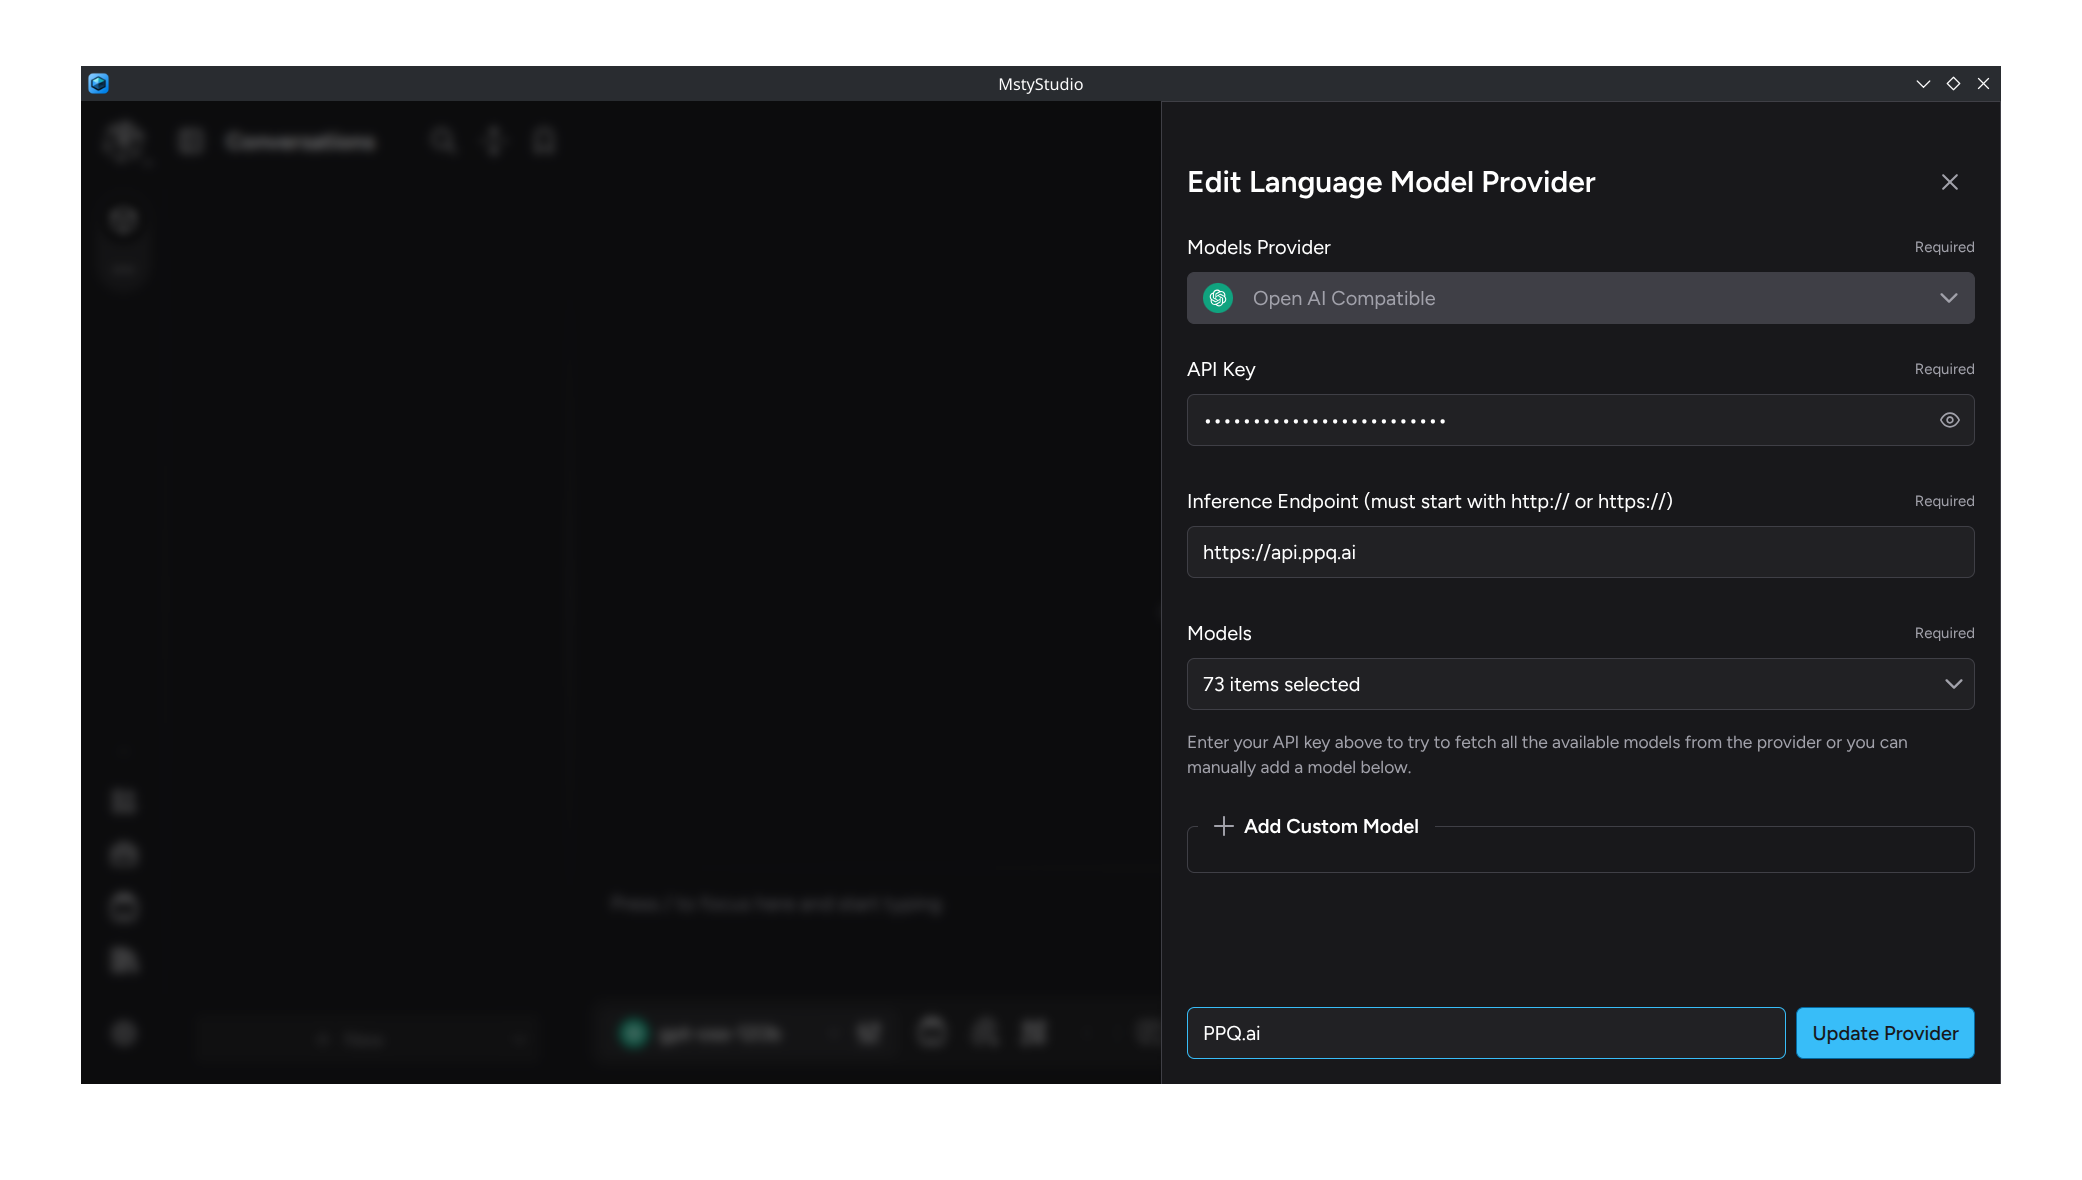
6. Finalize Provider Setup
Name your provider "PayPerQ" or "PPQ.ai" for easy identification, then click "Add Provider" to complete the setup.
7. Start Using Msty Studio
You're now ready to use Msty Studio with PayPerQ! Select your desired model using the Model Chooser, write your question, and click "Send" to start your conversation.

Advanced Features with PayPerQ
Once connected, you can leverage Msty Studio's advanced capabilities:
- Knowledge Stacks: Upload documents and create intelligent knowledge bases that work with PayPerQ models
- Personas: Create specialized AI assistants for different tasks using PayPerQ's diverse model selection
- Turnstiles: Build complex workflows that can switch between different PayPerQ models based on logic conditions
- Privacy Mode: Use PayPerQ models while maintaining complete privacy with local data storage
Problems?
Please contact us through the customer communication chatbot in the bottom right or in our telegram channel!